Save a report view
After viewing a report in Portal, changing the report date range, and specifying which data columns and records to show, an Admin user or Support user can save the customized report view.
After a report view is saved, the view name appears on the Reports page for all Admin users in the site, and all Support users in the Portal instance.
Note: You cannot save a view for the Backup Verification Report or Aggregated Usage Summary report.
To save a report view:
-
View a report. Specify a report date range, and data columns and records to show in the report. See View a report.
-
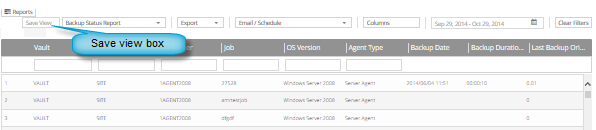
Click the Save View box.
The box becomes editable.

-
Type a name for the report view, and then press the Enter key.
The customized report view now appears on the Reports page.